What is an EPYPE?
It is a mobile webpage that provides personal interaction with a video at the top, and then below is where you can direct people to your most important information (products, service information, scheduling, and so much more).
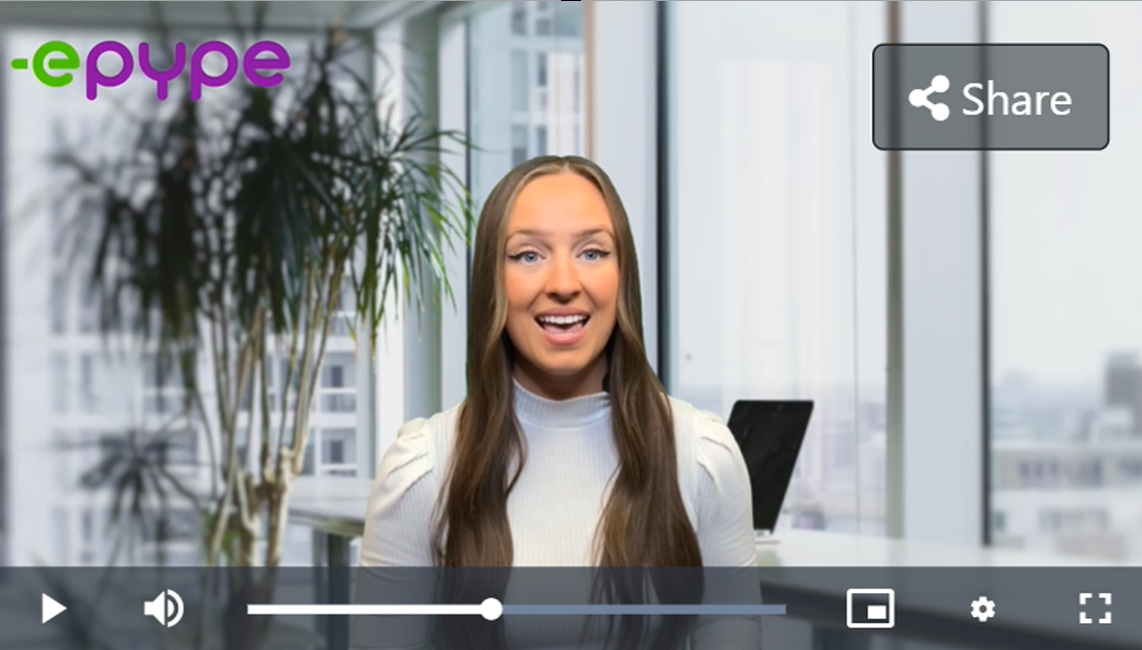
Example:
- Personalized videos give you the ability to speak directly to your people.
- It helps create personal and real connections.
- An easy way to get your content to your people.
- Sell products, share information, connect on social media, and so much more.
- Easy and all in one place.
- With personalized videos on mobile web pages, the sky is the limit!
3 Main Parts of an EPYPE
1. Video
This is where you can make your page personal for your customers.
2. Main Body of the EPYPE

This is where you can place:
- Logo or Images
- Headings
- Informational text
- Call to action with buttons that can link to just about anything you can imagine
3. Profile and Contact Information
This is where you can see your:
- Profile Image
- Your Name and Company Name
- Contact Information
- Links to social media
Creating an EPYPE is FUN!
Let's get started!
Click on EPYPE under Account Setup. You'll see a video guide to help you get started.
Or go to the EPYPEs tab. Then click on, +NEW EPYPE.
Step 1 Choose a Template
You can select from the templates available or start with a blank slate.
There is also an option to filter the templates by category and language to easily find the pre-made template you are looking for.
Video Help is available on the upper right side facing your screen. It's a brief introduction to creating an EPYPE.
Step 2 Build Page Content
Let's start creating your Content! By clicking on texts, links, or images in the EPYPE on the right side of your screen, you can edit the content of that EPYPE (see the image below). To add additional headers, text, images, etc. click on the buttons on the left.
Add Heading: Your title goes here.
Add Text: Information about you or your products could go here.
Add Image: This can be your logo. Choose a file from your phone or computer. You have the option to add a link or not. You can also use an image of your products/services and attach a web link to it.
Add Link: Place a link you want your customers to access. Provide a name for the link and choose an icon. Lots of new icons are added to choose from!
Add Product: You'll get a list on the dropdown if you already have a product added to your profile. If there is none, it will ask you to add a product.
Add Spacer: This gives you the option to add a space or line varying from small, medium, and large to give your EPYPE a more organized and neat look.
Hover your mouse on the 6-square icon located on the left of each section. This will give you the option to grab that section to arrange how the content is presented. You can also edit or delete section(s) as you see fit.
Contact Options: This is where you can edit the Let's talk button. Please see the Contact Bubble Article for more information.
Clear Content: If you click this button, all content will be wiped out and will leave you with the theme and background image, if any.
Let's talk about the Theme!
Headings & Text: Both have options to modify the font size, font style, and color.
Images: Adjust image size. Medium is a safe size to use for most images.
Links: Play around with text and buttons!
Change Background: There are two options to customize your background. You can use colors, or you can insert an image
Color - Can choose whether to use a solid color or gradient.
Image - Upload an image and modify its size, repeat, position, and background color as you see fit.
You can also change the theme of your EPYPE anytime before leaving this page. The themes are located at the top of the EPYPE editor. Once you choose a different Theme, a pop-up message will appear that looks similar to the image below.
You can choose from the following for your background:
- Default- This is the background of the template you chose in Step 1.
- New Theme- This is the background of the new theme you picked.
- Custom- This is the background image you uploaded.
Contact Buttons: You can change the color of your floating contact button to fit with your EPYPE.
Custom CSS: This is not normally used when creating an EPYPE.
Reset Theme: Reset changes made in themes.
Click on Next and Step 3 will appear.
Step 3 Add Video
Organization Videos: If you're a part of an Organization, choosing this option will give you access to available videos uploaded by your organization.
Record from Camera: To record someone else using the front camera, turn your phone to the LEFT. To record yourself (selfie), turn the phone to the RIGHT.
You can also record yourself in selfie mode.
Save a copy and the Upload Video option is available.
Select a File: Upload a saved video from your computer or phone.
Please make sure that the audio on the video is working. If your video doesn't have audio, it may not be uploaded.
Click on Next and Step 4 will appear.
Step 4 Choose Page Title
Type in the name of your EPYPE. You also have the option to provide a description. Then click on Publish EPYPE.
Step 5 Publish
Wait for the video to be uploaded.
Your EPYPE is published and is available in the EPYPE dropdown. Please be advised that it may take a few moments for it to process.
Note: You will be prompted to Create a Keyword if you haven't done so yet. You don't need to complete this step, however, it can be helpful. To learn about keywords, please see our Creating a Keyword help article.